Do you want to live a greener life? A great way to start is to set up a worm bin at home. Worm composting, or vermicomposting, has many benefits for the environment. All those food scraps and paper waste that would otherwise end up in a landfill are consumed by the worms and turned into a nutrient rich soil amendment.
In other words, you’re keeping trash out of landfills and getting rewarded with amazing (and free) fertilizer for your garden and houseplants.
Follow these 6 steps and take a step towards living a greener life.
Step 1: Selecting The Worm Bin Container
You will need a container for your worm bin, an opaque /solid colored storage container with a lid works great.
You will need at least a 10 gallon storage container. If you have a lot of food scraps daily, feel free to get a larger container.
You will need to drill holes (use a 1/8 inch drill bit) along the sides at the top of the container to allow air to circulate. Also, you need to drill a hole near each corner at the bottom of the container to allow any excess moisture to drain out of the bin.
Step 2: Cutting Your Worms A Bed
To make bedding for your worm bin, you need a lot of paper.
You can use newspaper (no shiny ads), office paper, corrugated cardboard or paper board. Think toilet paper, paper towel rolls, cereal boxes and even soda cases.
Tear the paper into thin strips, or use a paper shredder and rip cardboard into small pieces.
Place the paper into the container and start moistening it until it feels like a damp sponge. Be sure the paper isn’t dripping wet, if the paper is too wet, you can wring it out or add more paper to absorb the excess water.
Add 2 handfuls of garden soil (don’t use a soil containing any chemicals) into the dampened paper and mix into the paper by fluffing the paper up. It’s important to not let the paper become packed down, you want it loose to provide air.
Step 3: Introducing The Worms To Their New Home
Add the worms by placing them on top of the bedding and put a light layer of bedding on top of them.
After 24 hours, feed your worms! To do this, just make a hole in the bedding and put about 2 cups of food scraps into the hole. Cover the scraps with bedding.
A list of safe and unsafe food items for your worms is provided below.
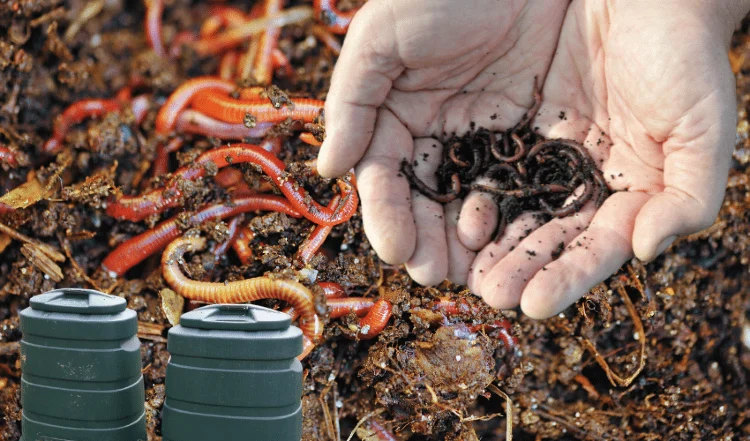
The best worms to use in your worm bin are called red wrigglers. I strongly suggest you get worms from a worm farm and not from a bait shop. The bait shop worms might not be the right species.
You will need to have a pound of worms for a 10 gallon container.
Step 4: Bin Placement And Temperature Considerations
Your worm bin should be kept in an area that stays between 50 and 80 degrees F (10 -27 degrees C). I’m talking about rooms like a garage, basement, laundry room or even just under the sink (not in your bathroom that gets hot).
Be sure to keep the bin away from vibrating appliances (washers, dryers or dishwashers) as worms don’t like vibrations.
The worms will not do well if exposed to excessive heat or cold.
Don’t place the bin near windows. Direct sun could cause the bin to heat up and kill your worms.
Step 5: Feeding Time
Keep your food scraps in a container in the fridge or in freezer bags in the freezer (thaw the day before use) until feeding time.
One pound of worms can eat about 1lb of food scraps every day, but it’s best to feed every 2–3 days.
Pay attention to how much food is left between feedings. If you see there’s a lot of food left, skip the feeding. You don’t want to overfeed your worms. If too much food is left uneaten, it will rot and cause odor and attract pests.
A healthy bin that receives the proper amount of feedings won’t smell. It’s also important to not let your worms be completely out of food.
It will take a little time to find the right feeding schedule for your worms, just keep an eye on what’s left between feedings and make any adjustments needed.
All the food scraps that you feed your worms should be cut into very small pieces, the smaller the pieces, the faster the decomposition.
When you feed your worms, make a hole in the bedding, place food in the hole and cover the food with the bedding. This will help keep fruit flies from being attracted to the bin.
Add a handful of damp paper or cardboard torn into small pieces with each feeding, to keep a good balance in your bin.
The foods worms eat come in two types, Green (fresh foods which are high in nitrogen) and Brown (paper foods which are high in carbon).
You’ll also use this method after the bedding has been turned into worm compost.
Step 6: Worm Bin Maintenance
To maintain your worm bin, regularly fluff up the bedding (to aerate) and make sure it feels like a damp sponge. If it feels dry, mist the dry bedding until it is damp but not soaked. If the bedding is too wet, add some dry bedding.
Remove any liquid from the tray under the bin regularly (be sure to save it).
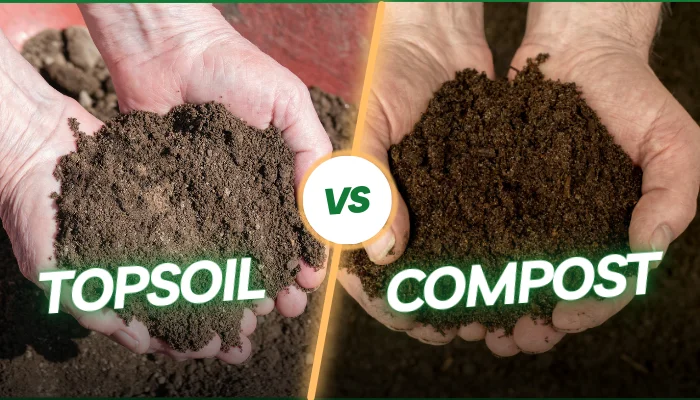
The worm compost will be brown, crumbly and smell earthy when it’s ready to harvest. In fact, it will look like a rich, dark soil.
To harvest the worm compost, scoop the amount you need, remove the worms by picking them out, put the worms back into the bin and add more damp bedding.
Be sure that your worm bin is moist, dark and not exposed to temperature extremes.
Now that your worm bin is set up and your worms are doing their work, keep them fed and in a moist environment (you don’t want wet compost), and you’ll be pumping out black gold within a few months.
Enjoy your new worm bin, your plants and the environment definitely will.
List of Supplies You Need to Make Your Worm Bin
-
- 10 gallon opaque/solid colored storage container with lid
- Paper, cardboard or paperboard (a lot)
- Plastic tray to put under the container (to catch drainage)
- Garden soil (be sure it doesn’t contain any pesticides or chemicals)
- Hand shovel
- Spray bottle
- 1 pound of Red Wriggler worms
List of Safe Green & Brown Food Items for Your Worms
Green Safe Foods
-
-
- Fruit scraps
- Vegetable Scraps
- Coffee grounds
- Tea bags
- Stale bread
- Eggshells
- Dead pant material from houseplants
-
Brown Safe Foods
-
-
- Newspaper (no shiny ads)
- Office and printer paper
- Corrugated cardboard
- Toilet paper
- Paper towel rolls
- Cereal boxes
- Soda cases
-
Unsafe Food Items To Avoid
- Citrus
- Dairy
- Fats
- Garlic
- Meats
- Oils
- Onions
- Prepackaged Foods
- Processed Foods
- Salty or Spicy Foods
DIY Wormery FAQ
How long will Red Wiggler worms live?
The Red Wiggler lifespan is an average of 2 1/2 years.
How fast do Red Wigglers multiply?
The Red Wiggler will lay eggs about 27 days after breeding and can double their numbers in 60 days.
How can I winterize my outdoor worm bin?
To get your worm bin ready for the winter you will want to reduce the amount that you feed your worms since they will be less active in the cooler temps, and you will want to wrap your bin (leave a couple of gaps to allow air flow) with a blanket, burlap, styrofoam sheets or even bubble wrap.


