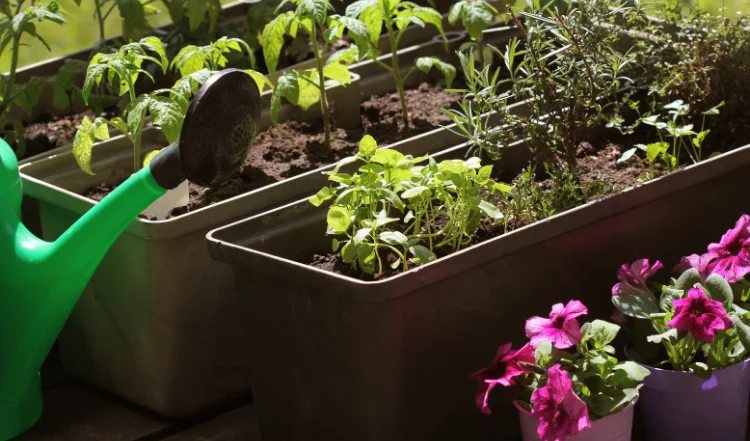
Herbs are the perfect choice for a balcony container garden. In fact, you can create one for any size balcony in just five simple steps.
5 Steps to a Herb Balcony Garden
Step 1: What herbs do you want to grow?
First, you need to decide what types of herbs you want to grow. Make a list.
This is a great opportunity to try new herbs to expand your culinary skills. I’ve included a list of common herbs below.
Step 2: How many containers will you need?
Now that you know what herbs you’ll have in your garden, you should also know how many containers you’ll need.
You will need a container for each type of herb you grow, since each herb will have different care instructions.
You can choose any style and size of container you want that will fit in the space.
Once you have an idea on the style and size of containers, take a look at your balcony and decide where to place them.
If you have a small balcony, you may consider using a variety of containers like hanging baskets, shelves or railing flower boxes to increase useable space and maximize yields.
Step 3: Are you ready for the nursery?
Now that you have an idea on your container placement, it’s time to head to the nursery for your plants and supplies.
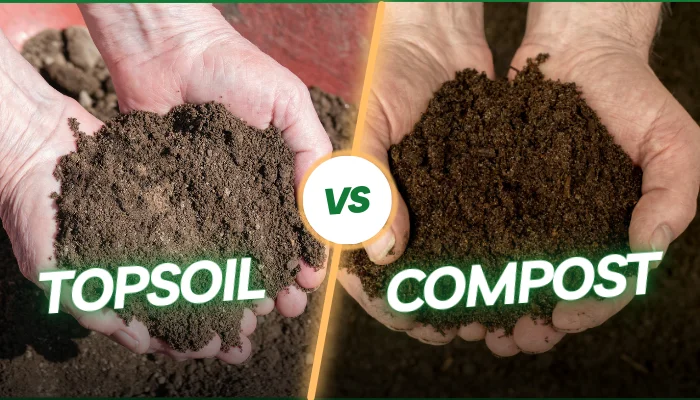
Beyond the containers, you’ll also need soil, small stones/pebbles (to place in the bottom of each container for drainage), compost and enough mulch to apply on top of the soil to retain moisture.
Finally, it’s time to get your herb plants. Be sure that each type of herb plant you get has a care instruction tag with it, so you can care for each plant properly.
Step 4: Are you ready to get dirty?
It’s time to get planting!
Take the supplies out to your balcony and place a layer of stone/pebbles on the bottom of each container.
Fill each container 3/4 full of soil before planting your herbs in their respective spots.
Place soil around the plant and fill the container. Make sure to leave enough space to apply a layer of mulch to help retain moisture. It’s a good practice to include the care instruction tag with each plant.
Step 5: Is your thumb green enough yet?
Now place your containers according to your design plan. Take a quick moment to enjoy your creativity.
Follow the care instructions for each plant and watch them grow.
As soon as your herbs are growing well and have a good amount of foliage, you can start to harvest them.
You may end up with more herbs than you can use, so be sure to pass some of your bounty along to family and friends.
Keep in mind, instead of wasting fresh herbs, you can also dry and freeze most herbs for later use.
This is a garden that can be moved indoors during the winter months if you wish to enjoy fresh herbs’ year round.
Enjoy your container herb garden. As Julia Child would proudly say, “Bon Appétit!”
List of Common Herbs
(and a few others to try)
- Basil
- Dill
- Catnip
- Chamomile
- Chives
- Cilantro / Corriander
- Marjoram
- Mint
- Oregano
- Parsley
- Rosemary
- Sage
- Tarragon
- Thyme


